Tel: +86-134-31394972
E-mail: sales@pre-webguidesystem.com
Tel: +86-134-31394972
E-mail: sales@pre-webguidesystem.com
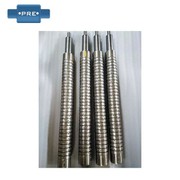
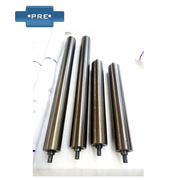
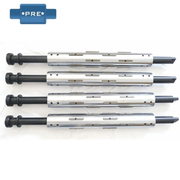
The photoelectric correcting machine is a correcting device for heat sealing hot-cut bag making machine and printing machine roll material; the photoelectric correcting machine is based on the electric eye transmission signal to the correcting controller, and then the controller outputs the correcting signal to the correcting machine stepping motor, step The motor enters the screw at the bottom of the machine according to the control signal, thereby achieving the effect of correcting the deviation.
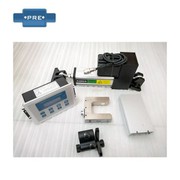
Correction system principle: The infrared light/ultrasound/laser/visible light is monitored by the correcting sensor B, and the signal is sent to the controller A. After the controller finds that the coil has a positional drift, the controller D controls the swing of the correction frame C to correct the position of the coil according to a command preset by the controller. The automatic material rectification system uses a photoelectric sensor to detect the edge position of the coil, and sends the measured position error signal to the controller. After the control unit judges the process, the drive motor is controlled to correct the coil at the deviation position to the correct position. . The FIFE Correction System offers several different detection methods: edge detection, follow-up or alignment. The drive system uses low-speed synchronization, variable frequency speed regulation, stepping and servo motor drive, and the drive stroke and the coil offset are strictly proportional. The system can also be used with different probes to suit the needs of different coils, such as: infrared photoelectric, analog infrared photoelectric. The microcomputer digital controller provides precise control of the system's functions.
Photoelectric Corrector Operating Guide:
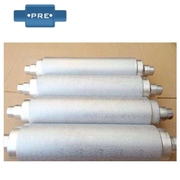
1. The first step: fix the reel material that needs to be corrected to the specified position of the correcting machine as required, and connect it to the bag cutting machine or printing machine as required.
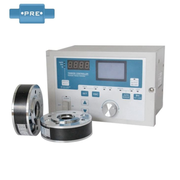
2. The second step: connect the power supply cable of the correcting machine to the three-phase electrical plug-in board, open the main switch of the power supply of the correcting machine controller, the electric eye switch, check the panel of the correcting controller, and whether the electric eye lamp is normally displayed.
3. Adjust the position of the electric eye, the left and right rectification buttons, the rectification speed, the tension, and the single and double rectification adjustments according to the actual requirements of the rectification.
4. Correction controller speed range: 0~10; the smaller the value, the faster the correction speed is. Generally, the correction speed is adjusted to 3.
5. Tension controller: It is recommended to adjust to 0.25KG.
6. Adjusting the left and right corrections: according to the actual needs of the correction; the left side is adjusted to the left; the right side is adjusted to the right.
7. Note: Before adjusting the button, please press the switch button.
Previous: Do You Know The Precautions For Using Automatic Photoelectric Guide?
Next: Servo Guide Controller EPC-A10/LPC-A12 Drives DC Servo Motor